
Welcome to our Paper Crafting Blog Hop featuring talented Independent Stampin’ Up! Demonstrators from all over the globe including the USA, United Kingdom and Australia. We have a wide array of fun projects and design styles to share with you showcasing products from Sale-A-Bration.
You may have arrived from Julie Mazur's blog, wasn't her project great!
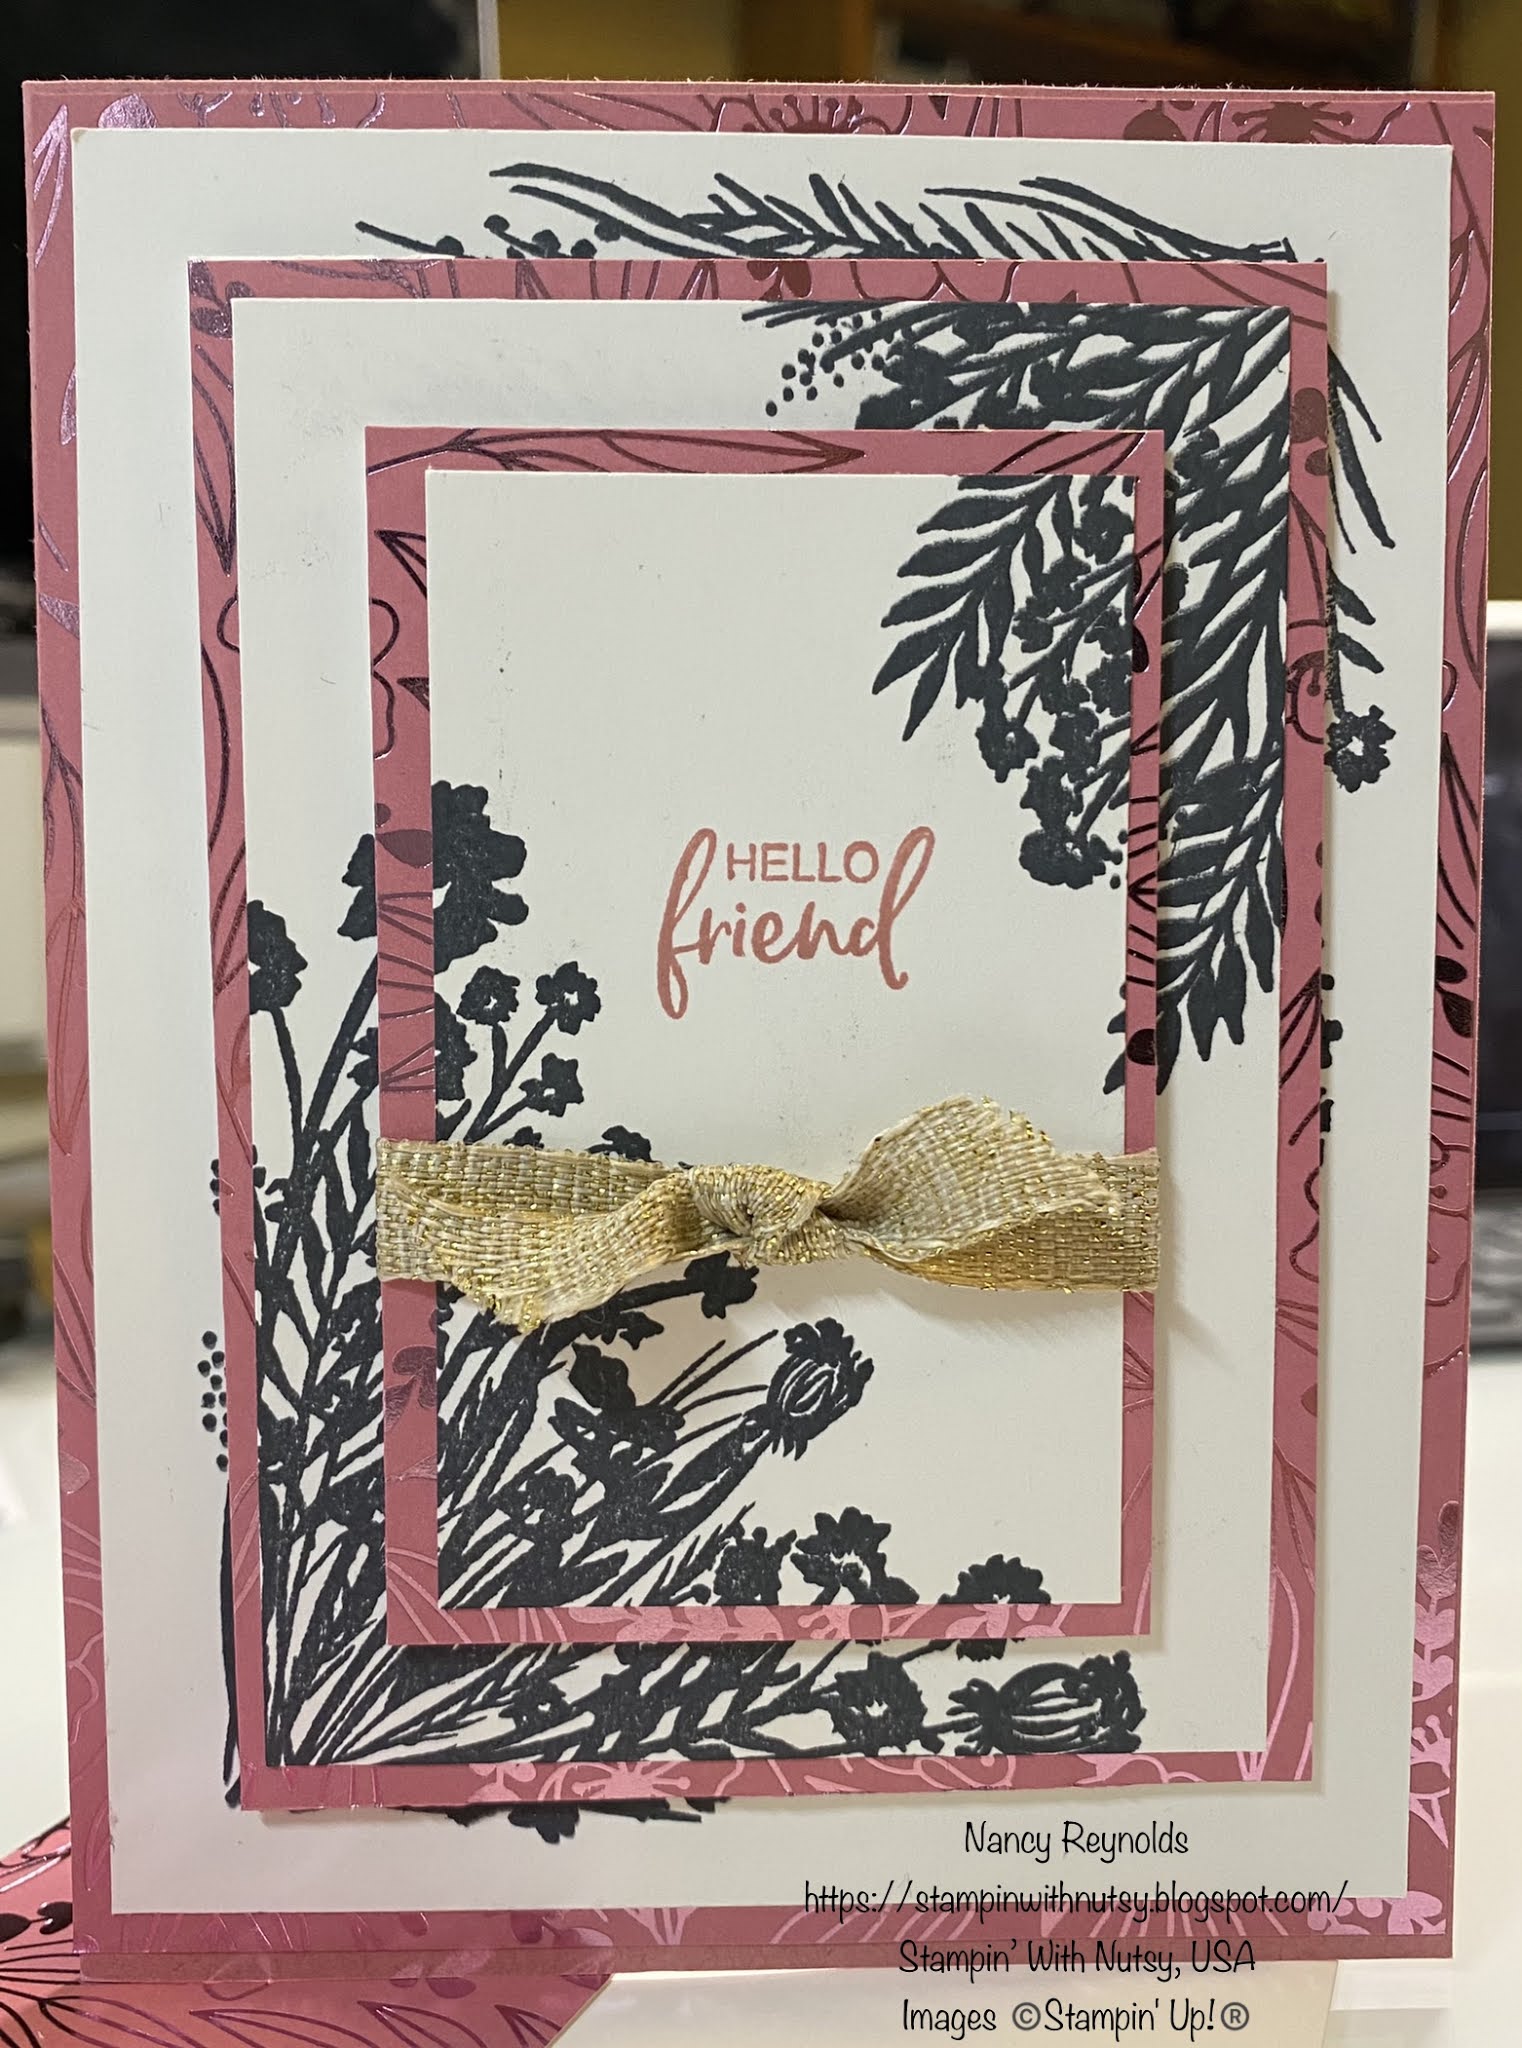
When I first saw the Corner Bouquet stamp set I thought it would be perfect on a triple layer card. Then I put it in the drawer as there were other stamp sets I wanted to create with first. Now it’s getting it’s turn out of the box and I was right, this set was made for the card I had in mind.
I mounted the corner bouquets on my Stamp-a-ratus (stampasaurus for those who know me well, LOL) because I wanted to make sure I got a good solid inking. I used Whisper White cardstock because I have a good supply of it on hand, but am looking forward to getting some of the new Basic White, which I hear is brighter.
My base is Rocco Rose cardstock with the matting layers of Love You Always Designer Series Paper in the Rocco Rose pattern.
Paper Sizes:
The card base is 1/2 sheet of A4 cardstock, scored at 4 1/4” and cut at 5 1/2”.
3 white layers: one of each size - 5 1/4” X 4”; 4 1/4” X 3”; and 3 1/4” X 2”
3 Designer Series Paper layers: one of each size - 5 1/2” X 4 1/4”; 4 1/2” X 3 1/4”, and 3 1/2” X 2 1/4”
Inside:
5 1/4” X 4” Lovey You Always DSP
5” X 3 3/4” White
Stack the 3 white cards, I used a bit of Seal in the middle to hold them together while I stamped, I “destickified” it a little by touching it several times but even if the tape did a little damage to the layer below it will be covered up. I stamped with Memento Tuxedo Black Ink twice, pressing to get good coverage.


After adhering the stamped images to the mat layer I used Stampin’ Dimensionals to attach the bottom two layers to the card base. On the top layer I used the stamp Hello Friend sentiment from the A Touch of Ink stamp set and stamped using Rocco Rose ink. I knotted the Fine Art glimmer ribbon onto it and adhered the layers with dimensionals.
Good news - both stamp sets, Corner Bouquet and A Touch of Ink are Sale-A-Bration free sets. Sale-A-Bration ends February 28, 2021 so you still have time to order. I hope you’ve enjoyed my card and that you’ll make one yourself.
I'm the last blog in the list. The Next button below will take you to the start of our hop, Shirley Merker, just in case you started at another blog. You will also find a link for all the blogs in the hop at the end.

Paper Crafting Blog Hop Designers:
If you live in the USA and don't already have a Stampin' Up independent demonstrator I'd be honored to have you order from me. Or, perhaps you'd like to become a demonstrator or discount shopper? If so, I'd love to have you join my team.
Product List 


")
 Fine Art Ribbon")


Wow - I'm impressed - I just have not loved that set - but you made it shine! Nice work.
ReplyDeleteThank you Maureen. :-)
DeletePerfect Stamps for this technique and love how you've put it together.
ReplyDeleteThank you Annette. 😀
DeleteWonderful card! Great idea to use the corner bouquet for this design. Thanks for sharing!
ReplyDeleteThank you Terri. 😀
DeleteI love triple stamping and this is a fantastic example of it
ReplyDeleteThank you Tracy. 😀
DeleteThis is a beautiful card and thank you for the step-by-step instructions!
ReplyDeleteYou are right, this is a the perfect stamp set for the triple layer card!
ReplyDeleteYou have shown me how to love this stamp set. Beautiful. TFS
ReplyDelete